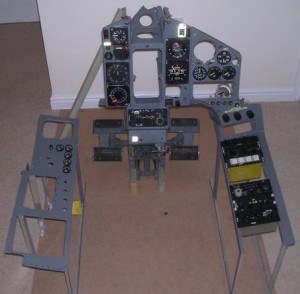
I started out with just the instrument panels mounted on a couple of sheets of 3'x2' MDF. I now know they should have been an inch or two wider, as I discovered later there is little room for the switches outboard of the console panels.
Deciding to build a complete cockpit, the project moved out to the garage and I cut sides, a back, and sloping floor.
Next came top rails, a windscreen surround, and various strengthening braces.
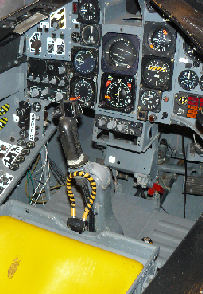
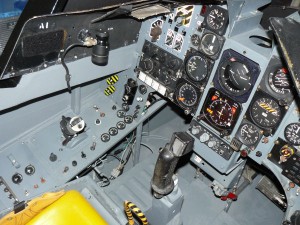
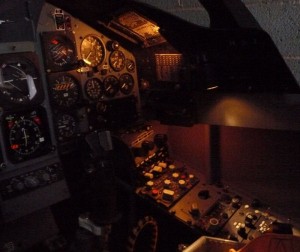
A bit of paint - actually grey primer from Wilkinsons which is a reasonably good match - and a trial fit of instruments. This photo shows my original scratch-built column which is a bit squarer than the corect item which I now have.
Then came a windscreen, formed from a large sheet of acrylic, with a hardboard frame.
More paint and it was about done.
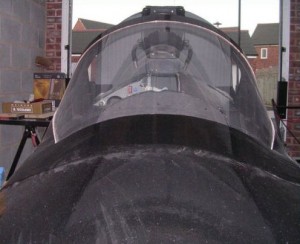
The photos below show how my cockpit looked before I moved house and it went into long term storage.
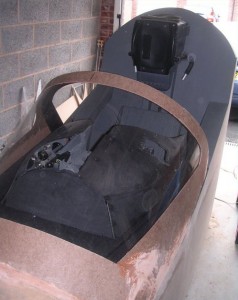
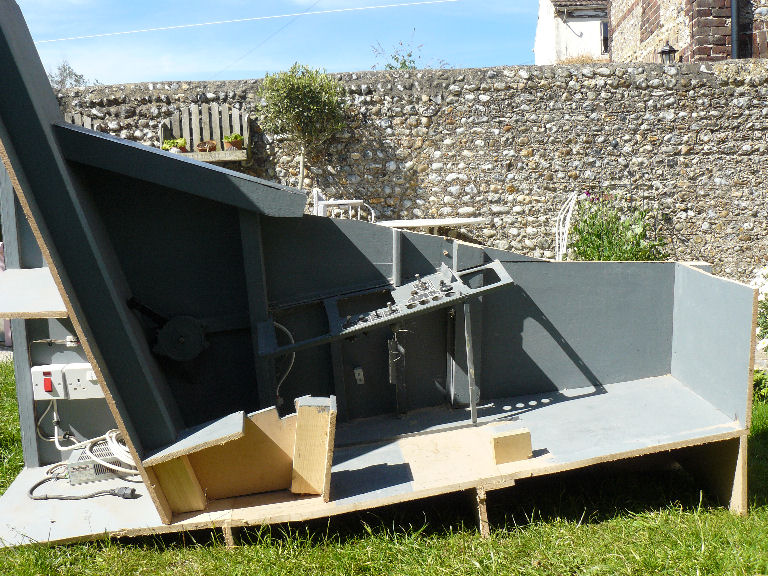
2015 and I finally conceded that if I wanted to make progress I needed to get the cockpit into my cellar. The only way that was going to happen was in pieces!
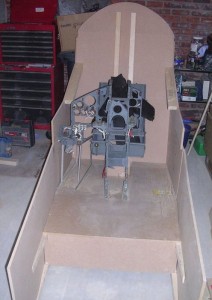
I procrastinated as long as I could, then got out my saw. I've included a photo of the sectioned cockpit below since it shows off the construction quite well.
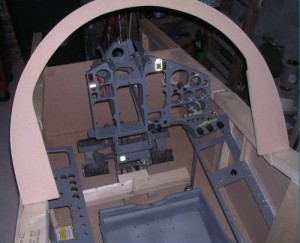
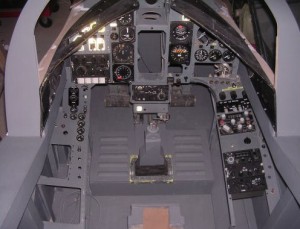
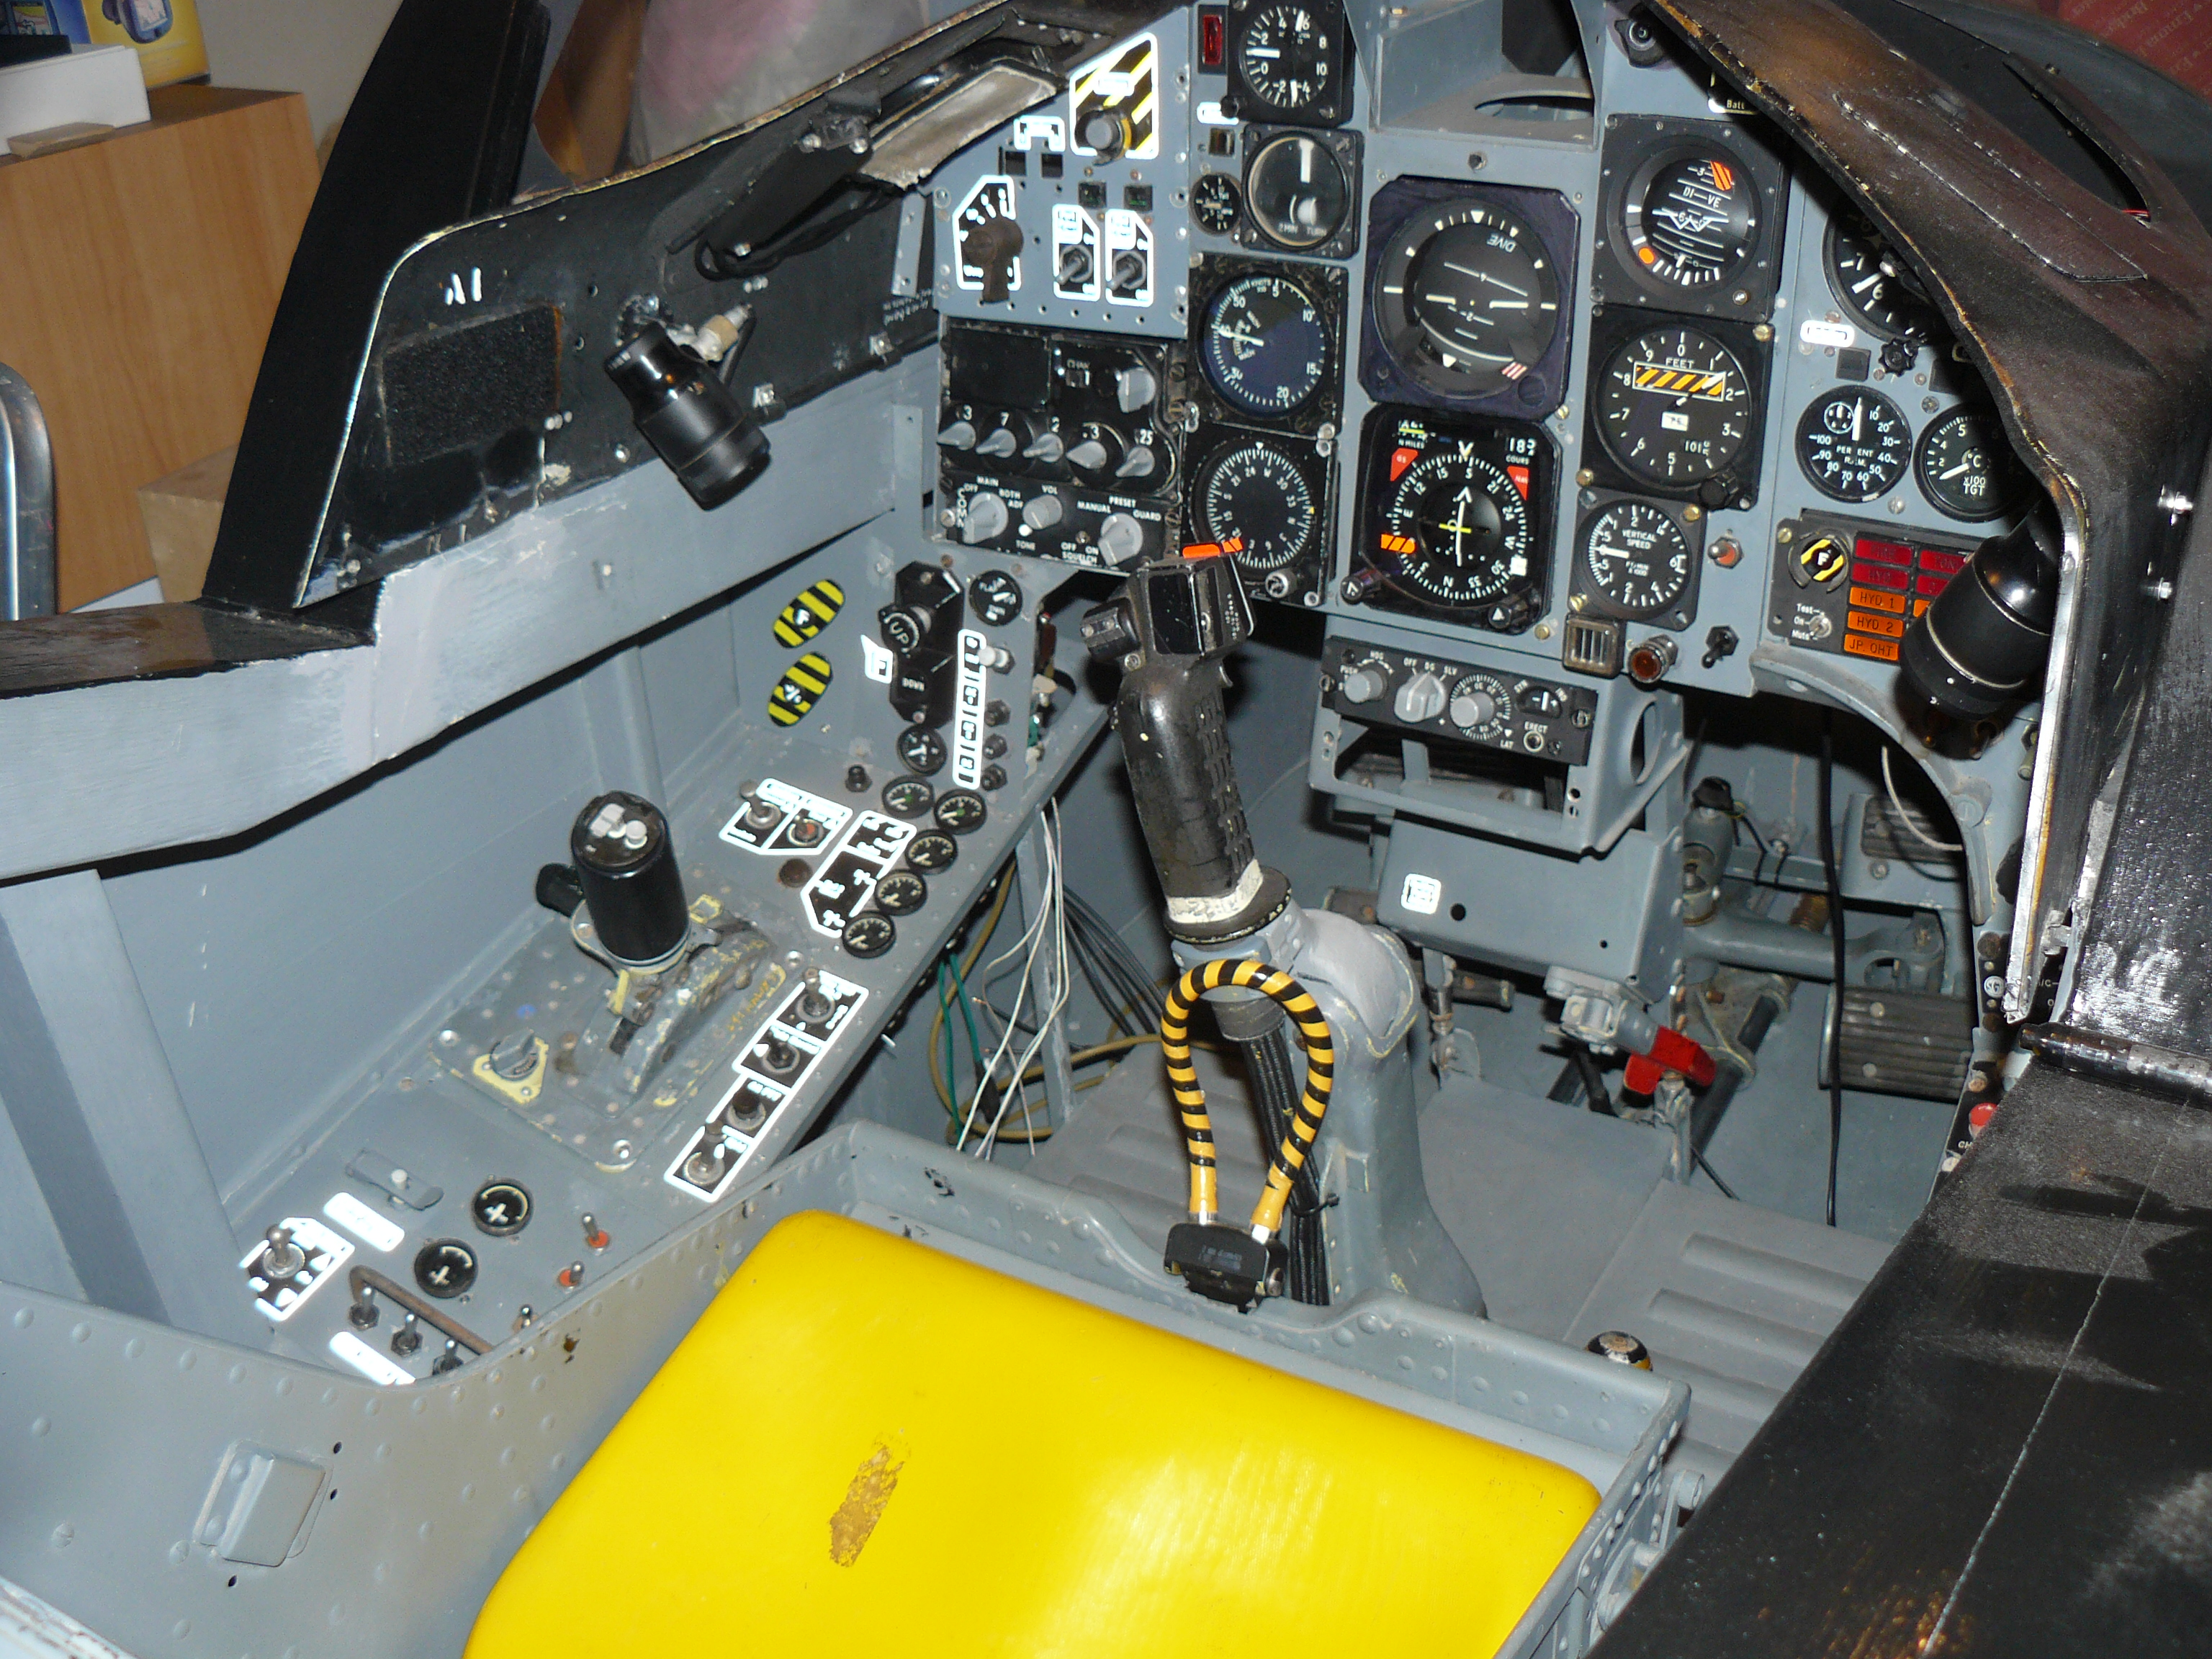
Having reassembled the cockpit I started to fill it up with instruments once more. At least the decade off has allowed me to collect a few more genuine Hawk parts.
The photo below shows how the cockpit looks now.
The most frequent question I get asked is do I have any plans/drawings/documentation in order for someone else to build a cockit? The short answer is not really, or nothing of much use anyway.
I built my cockpit from the two drawings below (click on them for larger images) plus photographs. I basically scaled any measurement I needed by measuring something else that I did know the size of.
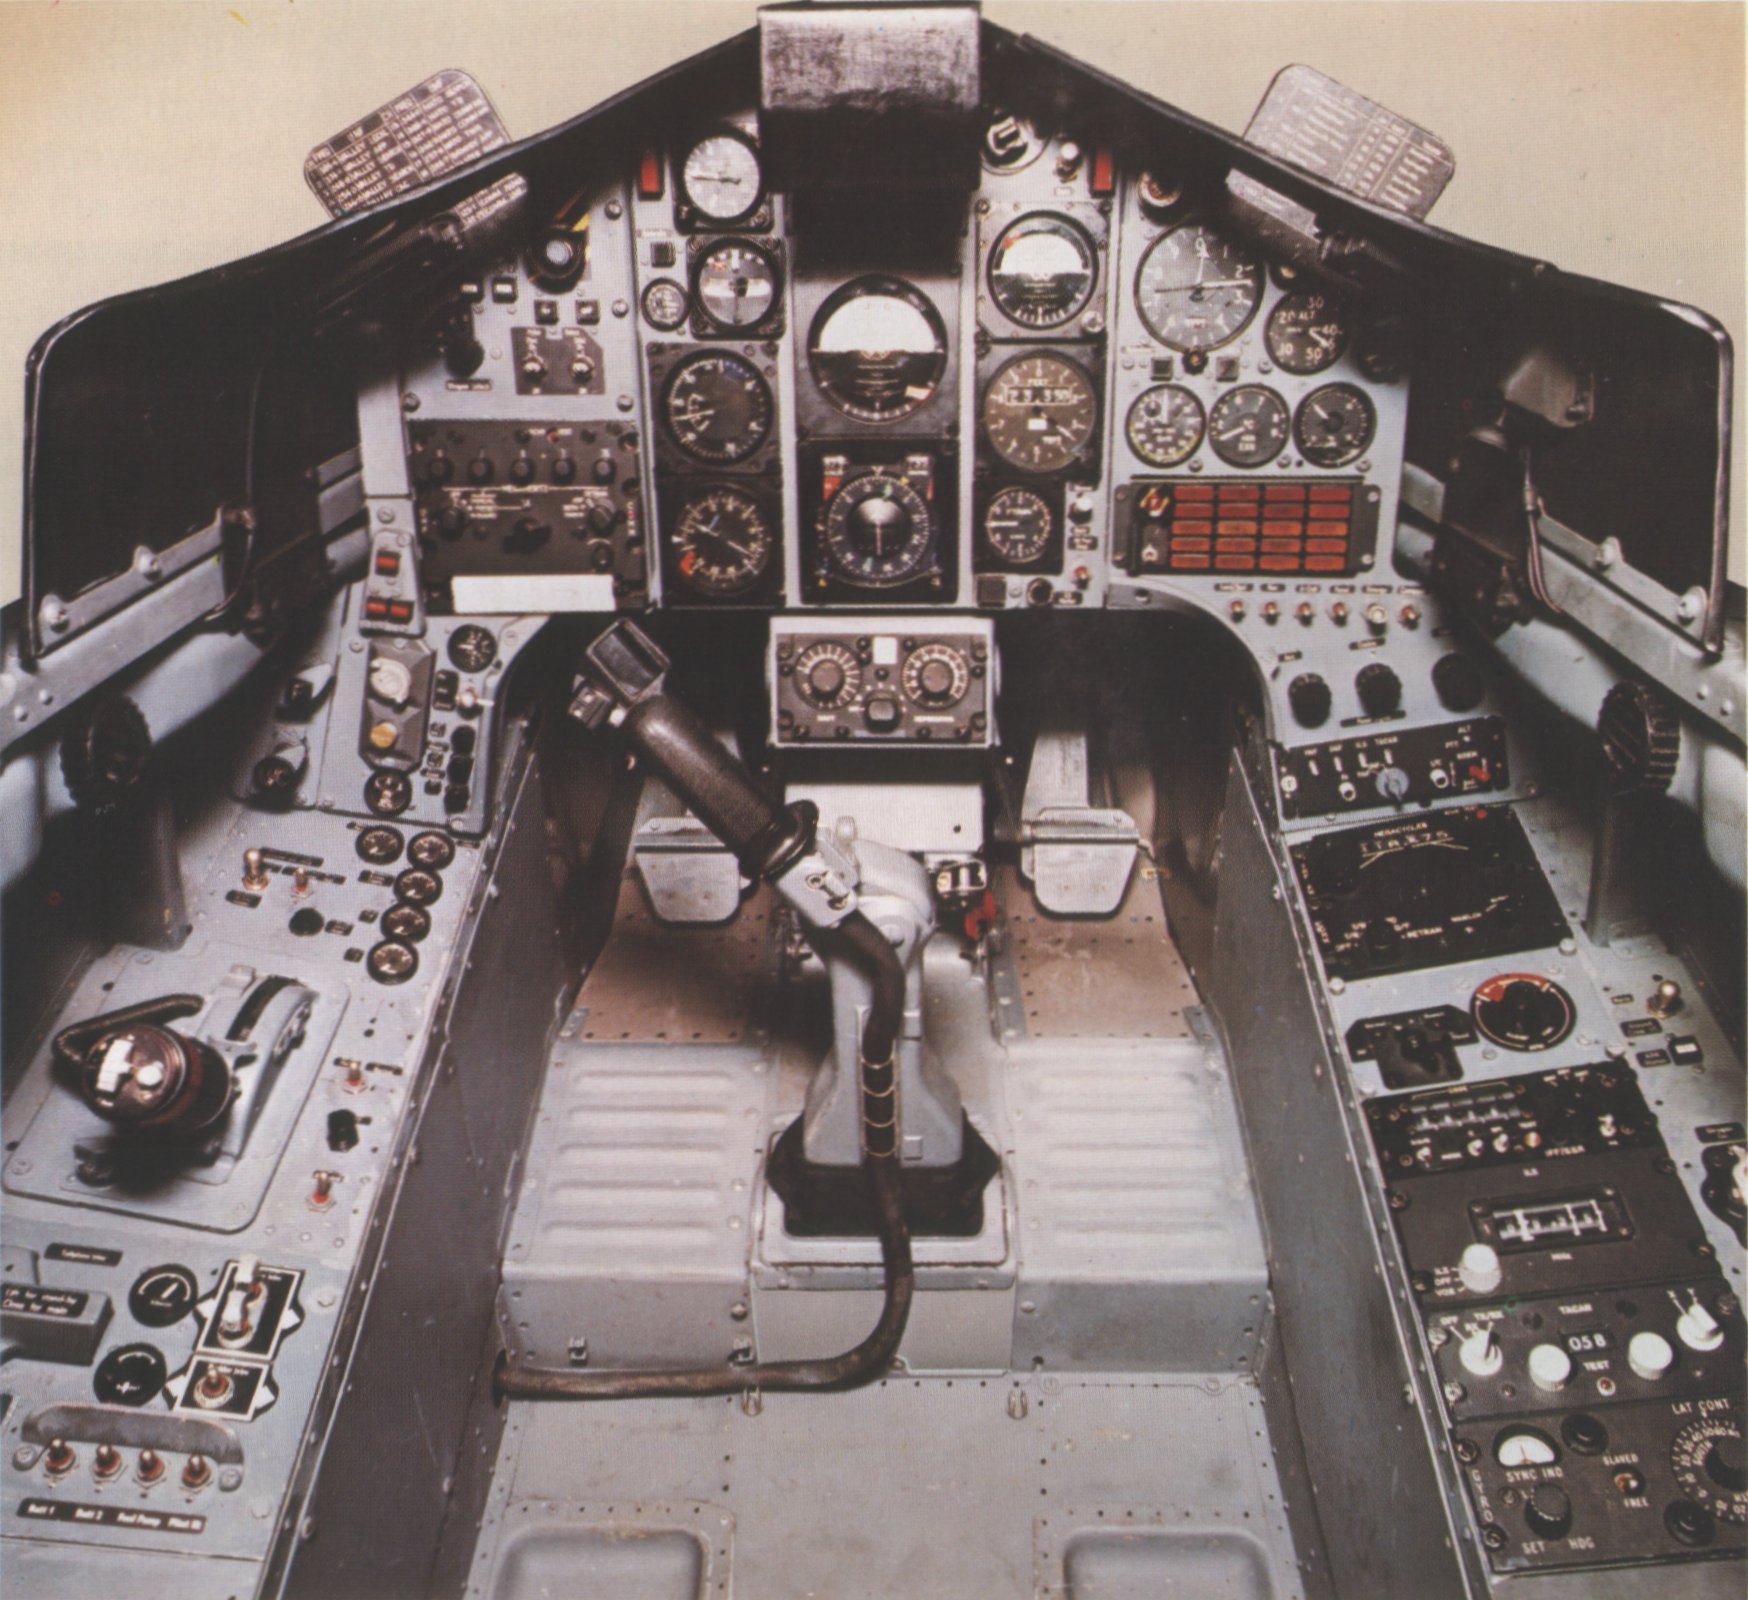
I also managed to take a few measurements from the Simtech Hawk cockpit, although looking back 10 years later they don't mean a great deal! I've included them anyway for what they're worth!
Simtech cockpit measurements:
(Here's the first few, more to follow when I dig them out...)
12 3/4" from base of column to pivot, 3" from pivot to base of grip, total column height from bottom to base of grip 15 1/2" (yes, I know that's 1/4" difference - I don't know which is right!) The same note says the centre of the column is 9 1/2" back from the centre panel mounting bolts.
Whenever I get asked to measure something in the future I'll also post it here, although I can't guarantee the accuracy!
Column Measurements:
Width of column at lower widest part is 110mm, width of column in narrower centre section is 55mm, width of column at top section (pivot shell) is 80mm. Depth of column (i.e. thickness) is 58mm at bottom, 50mm at top (raised area around hole +15mm). I can't guarantee my column is at the correct height since the rebuild, but it's 300mm from the floor to the top (obviously it extends below the floor). From the floor to the grip flange is 370mm, plus another 158mm to the top of the grip.)